winter sowing: hope in a jug
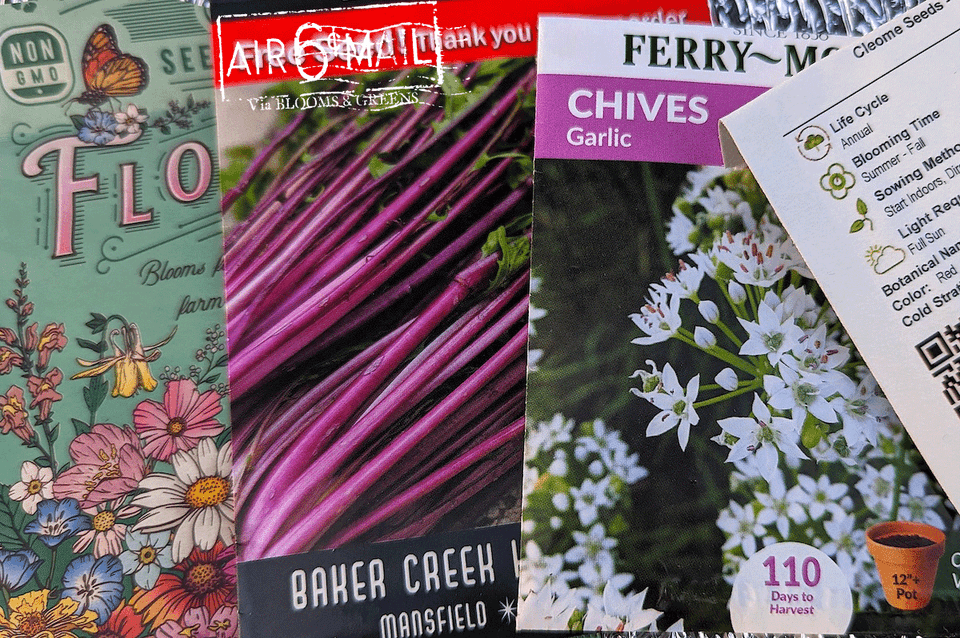
We had been thinking about trying winter sowing last year, but we were overtaken by events. Last fall, we finally started saving some containers and asked around the neighborhood for empty 1-gallon milk and water containers for this project.
As you may already know, winter sowing involves starting seeds outdoors during the winter months. The intent is to take advantage of the natural cycles of freezing and thawing that occur during the winter months to stratify the seeds and break down their hard outer coats, which can help improve germination rates. We understand that most seeds that require stratification should be kept between 30°F and 45°F, but again, the conditions are individual according to the seed.
For this project, we put together the following:
CONTAINERS: We needed plastic containers that can withstand the elements, such as clear plastic jugs or containers with lids. These containers will act as mini greenhouses for the seeds. We used milk and water containers, juice containers, and even a couple of cat litter containers (to be used with flowering plants). The containers were cleaned, and holes were punched at the bottoms using a hammer and screwdriver trick. We found that the milk and water jugs were the easiest to prepare as you only need a pair of scissors to make the partial horizontal cuts (leaving about 3-4 inches by the handle). For the harder or thicker plastic like juice containers, we had to use box cutters.
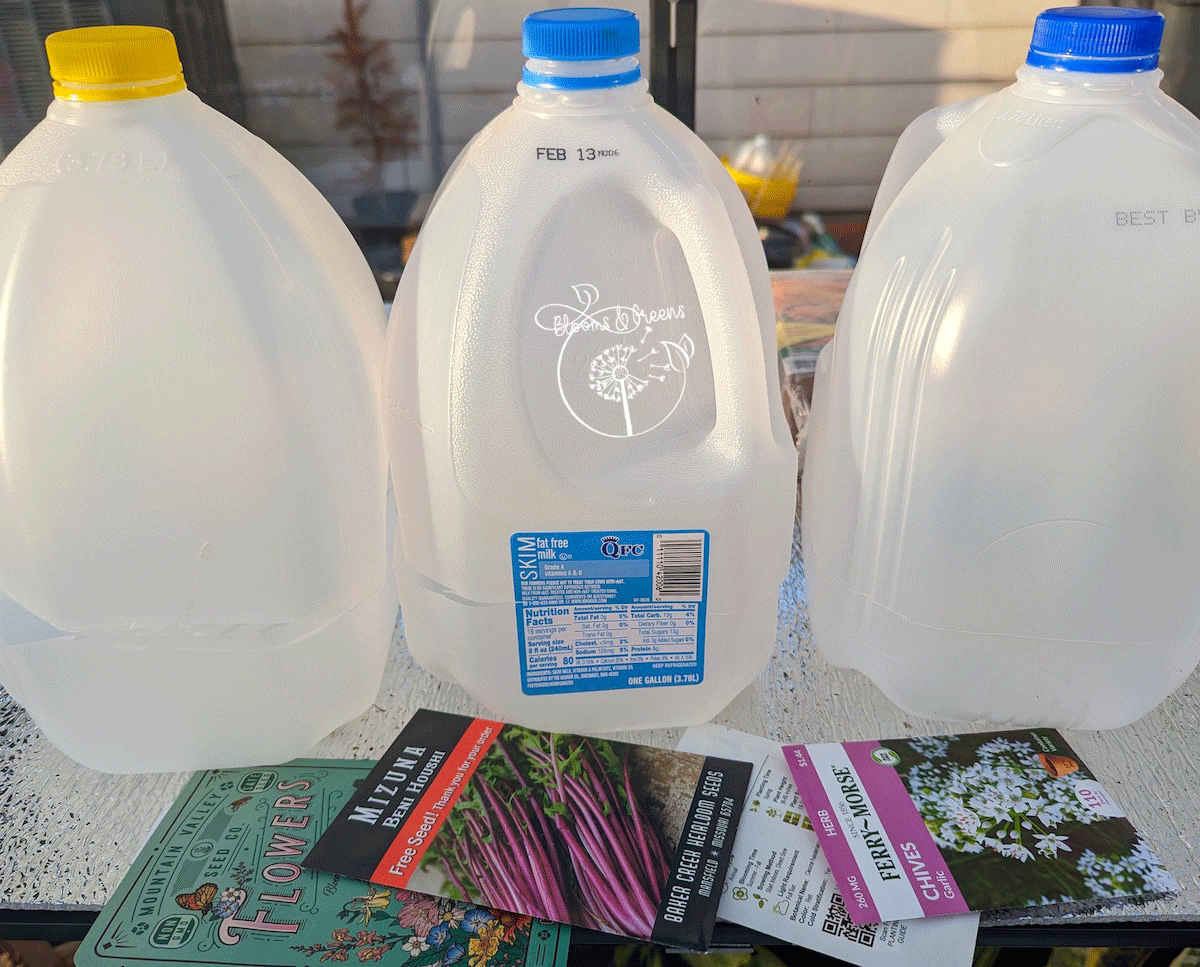
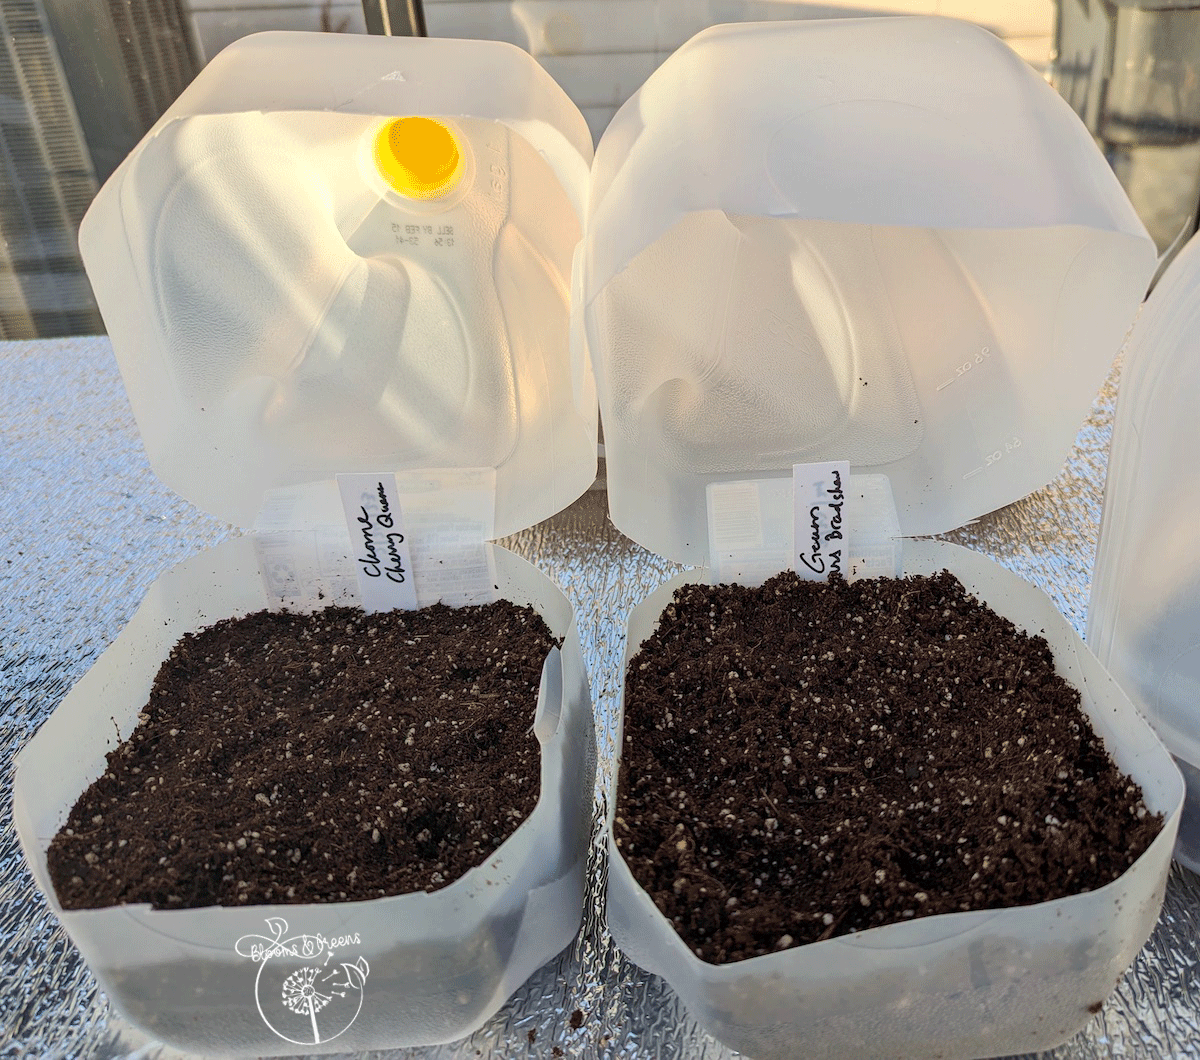
POTTING SOIL: About a couple of inches of moist potting soil were needed for each container. To prevent the soil from draining out, we placed a layer of paper towel at the bottom of each container. A coffee filter could work just as well. We sprinkled the seeds and added a thin layer of soil on top. We placed a label inside each container to ensure that we can keep track of what we sowed. We have yet to find a marker that doesn't fade out under the elements.
TAPE: The containers need to be taped horizontally to close the cuts; the lids need to be screwed on as well. Once the seeds start to germinate, the lids can be removed. Duct tape could work here, but we have some aluminum tape used in insulation panels, so we used that instead. We labeled and dated the tape, then adhered it over the horizontal cuts on the jugs to temporarily seal it together.
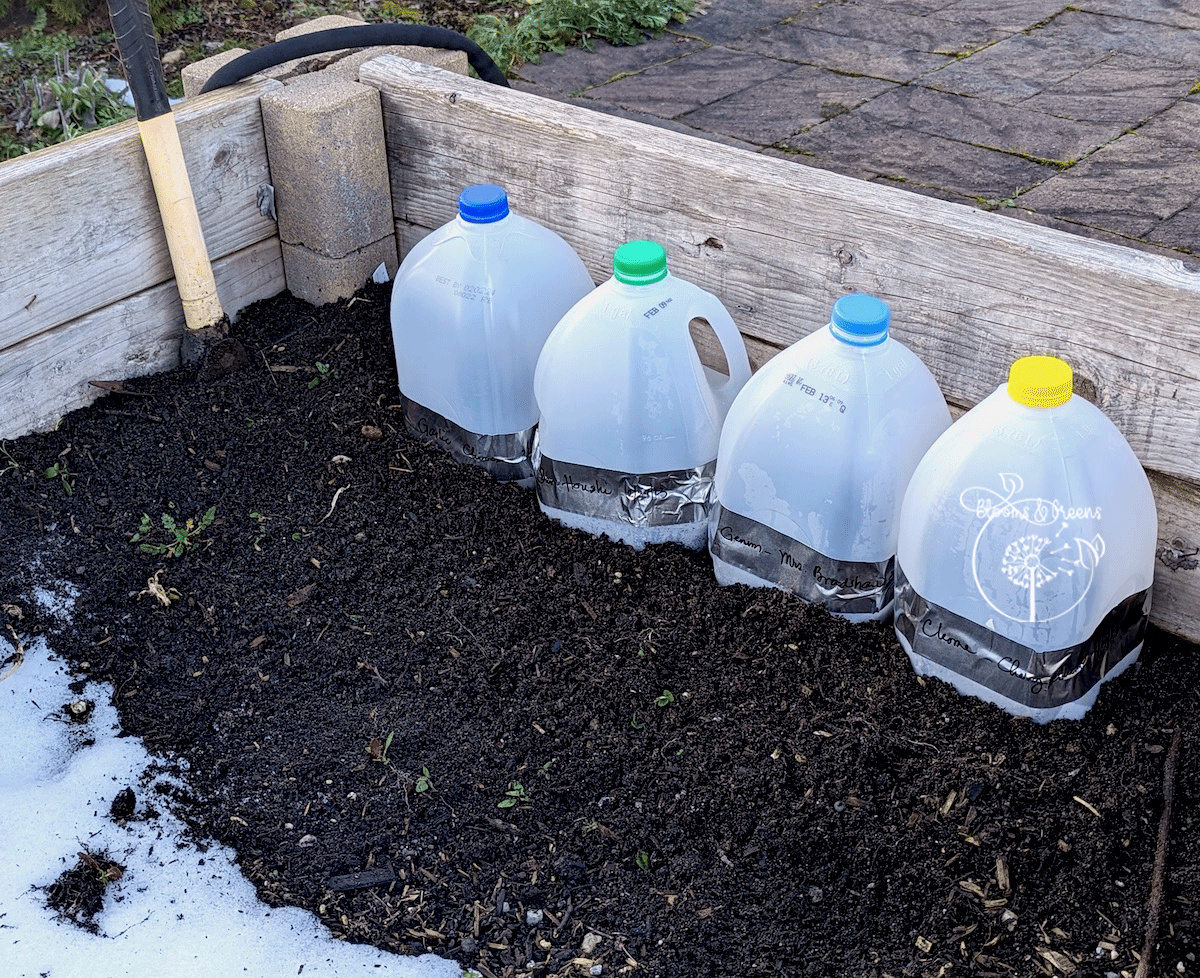
LOCATION: Once the containers were closed up, we had to find a spot outside that gets some sunlight but is also protected from strong winds. The idea is to let nature take its course and let the seeds experience the natural temperature fluctuations of winter. The raised beds in our kitchen garden are south-facing, so we nestled the containers in the interior part of the bed next to the side plank with just enough soil to keep them ensconced.
For our tracking purposes, we winter-sowed the following seeds:
Group I (used juice containers - sowed 2/20/23)
A. Big Italy Parsley (biennial herb)
B. Double Curled Parsley (biennial, fast grower)
C. Cherokee Yellow Wax Bush Beans (AAS Award, 1948)
D. Feverfew (perennial herb used in traditional medicine)
E. Cardoon
F. Purple Italian Globe Artichoke
Group II (used vinegar and litter box containers - sowed 2/20/23)
V: Prairie Sun Rudbekia (native, hardy perennial)
LB: Mystery Sunflower (seed label faded. This is an experiment; we noticed that sunflowers that self sowed in the garden are typically stronger than those we started indoors. We want to see if we can replicate them similarly in the container).
Group III (used 1-gallon milk and water jugs-sowed 2/23/23)
A. Cleome - Cherry Queen (requires cold stratification)
B. Garlic Chives (clump forming perennial)
C. Geum - Mrs Bradshaw (hardy perennial)
D. Mizuna - Beni Houshi (frost hardy)
The only thing left to do is to make sure they don't dry out completely during the winter months. We get some fair rain here during the winter months, but we'll keep an eye on them. If everything goes well, the seeds should begin to germinate and grow as the weather warms up in the spring. Once the seedlings have grown big enough to transplant, they will be moved to their permanent home in the garden. There will be no need to "harden" them, unlike the rest of the plants we're growing in the greenhouse.



Member discussion